

Center Profile
The Center tab contains your center's identity and contact details. This information is visible to team members and parents throughout the platform.
How to Access
Navigate to Settings → Center tab.
Center Profile
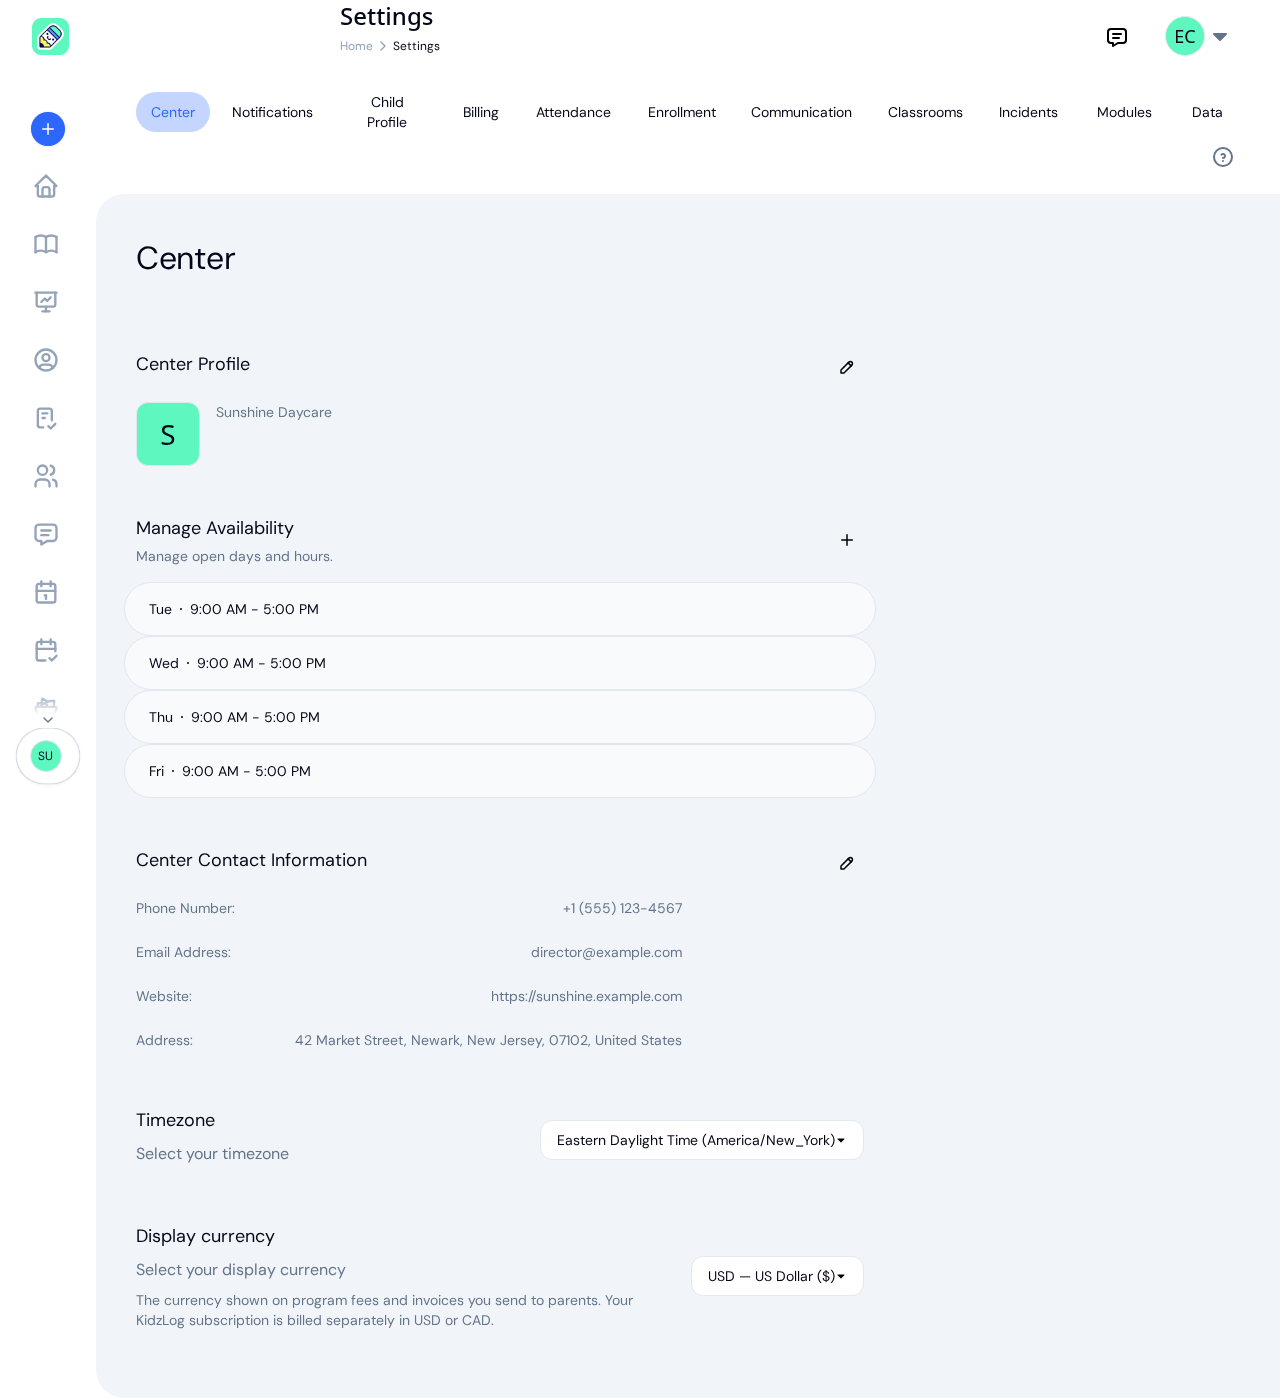
The profile section displays your center's name, logo, and description. Click the pencil icon to edit.
- Center Name — The name shown across the platform and in communications
- Description — A brief description of your center (optional)
- Logo — Upload an image that represents your center. This appears in the sidebar, kiosk mode, and parent-facing pages
Operating Hours
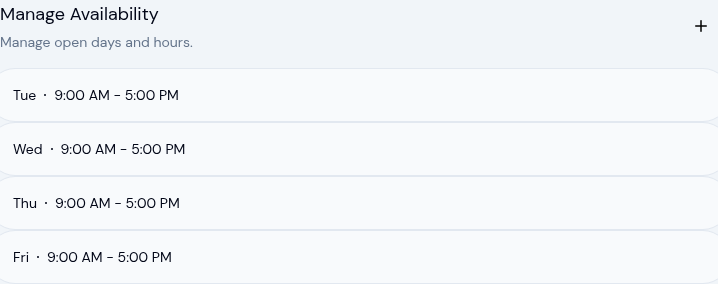
The Manage Availability section, directly below your center profile, is where you set the days and hours your center is open. Each day you've added is listed with its open and close times.
To add hours:
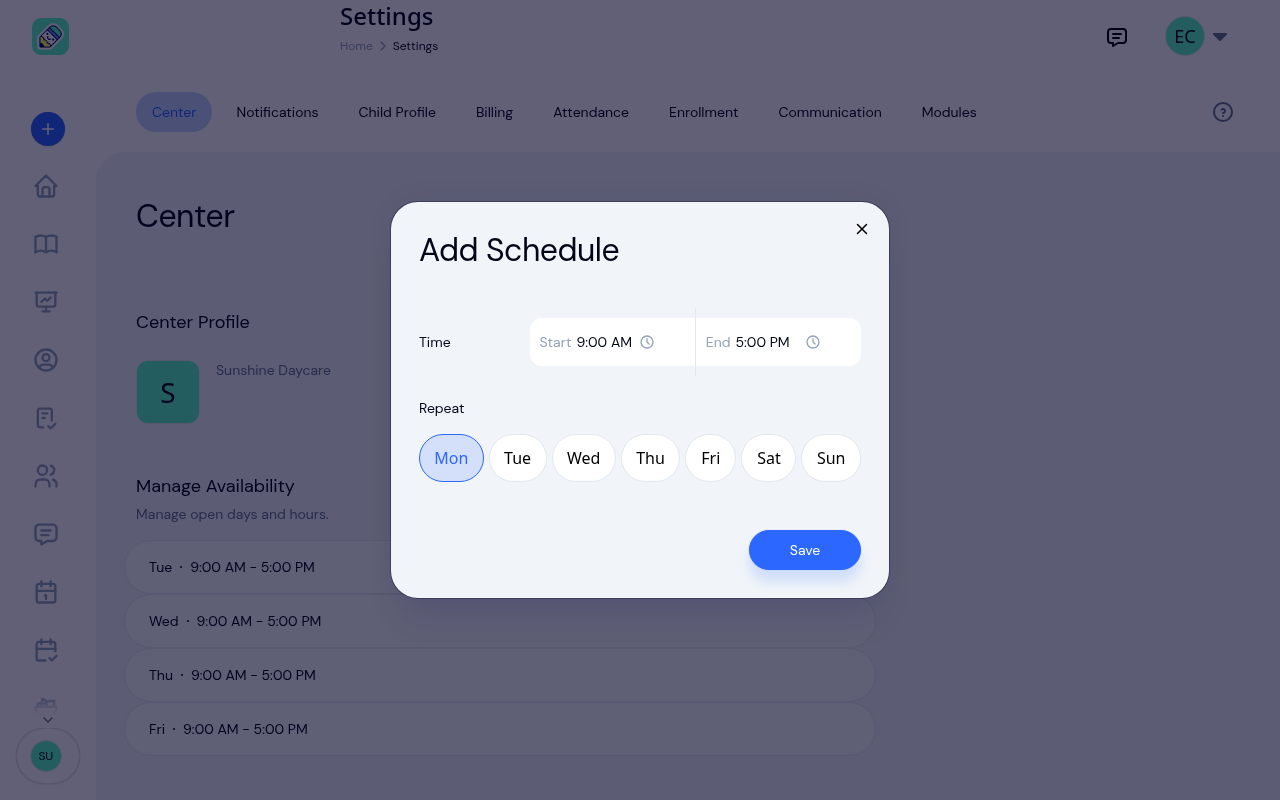
Open the Add Schedule form
Click the plus icon next to Manage Availability.
Set the times and days
In the Add Schedule window, pick a Start and End time, then under Repeat select every weekday those hours apply to. You can add the same hours to several days at once.
Save
Click Save. The days you selected appear in the list, each with the hours you set.
To remove a day, hover over its row and click the X, then confirm. To change a day's hours, remove it and add it again with the new times.
Center Contact Information
Click the pencil icon next to Center Contact Information to update:
- Phone Number — Your center's primary phone number
- Email Address — The contact email for your center
- Website — Your center's website URL (optional)
- Address — Your center's street address, city, state or province, postal code, and country
Timezone
Your center's timezone arrives already filled in. KidzLog works it out from the address you gave when you created the center, so a center in New Jersey opens on Eastern time and one in Alberta on Mountain time, without anyone choosing it.
You can still change it from the dropdown if it's wrong, or if your center's address and its actual location differ.
This is the zone your center runs on, not a personal display preference. Every time that belongs to a place is shown in it: check-in and check-out times, activity times, the day an attendance record falls on, and the times printed in attendance and calendar emails. Anyone looking at your center's records sees your center's clock, wherever they happen to be.
Display Currency
Select the currency shown on program fees and invoices you send to parents. Use the searchable dropdown to pick from the list of supported currencies.
If your center already has a display currency set and you choose a different one, a confirmation appears before the change takes effect. Existing fees and invoices re-render in the new currency. KidzLog does not convert amounts, so a 50.00 fee stays 50.00 in the new currency.