

Creating Your Center
When you first sign up for KidzLog, you'll be guided through creating your childcare center. This is a quick process that sets up the foundation for everything else: your team, classrooms, children, and programs all belong to your center. Once you're in, a guided setup checklist walks you through the rest.
What You'll Need
Before you begin, have these ready:
- Center name — the name of your daycare, preschool, or childcare facility
- Country — where your center operates
- Contact email — the email families will use to reach you
- Contact phone number — the phone number for your center
Step-by-Step Setup
Fill in your center details
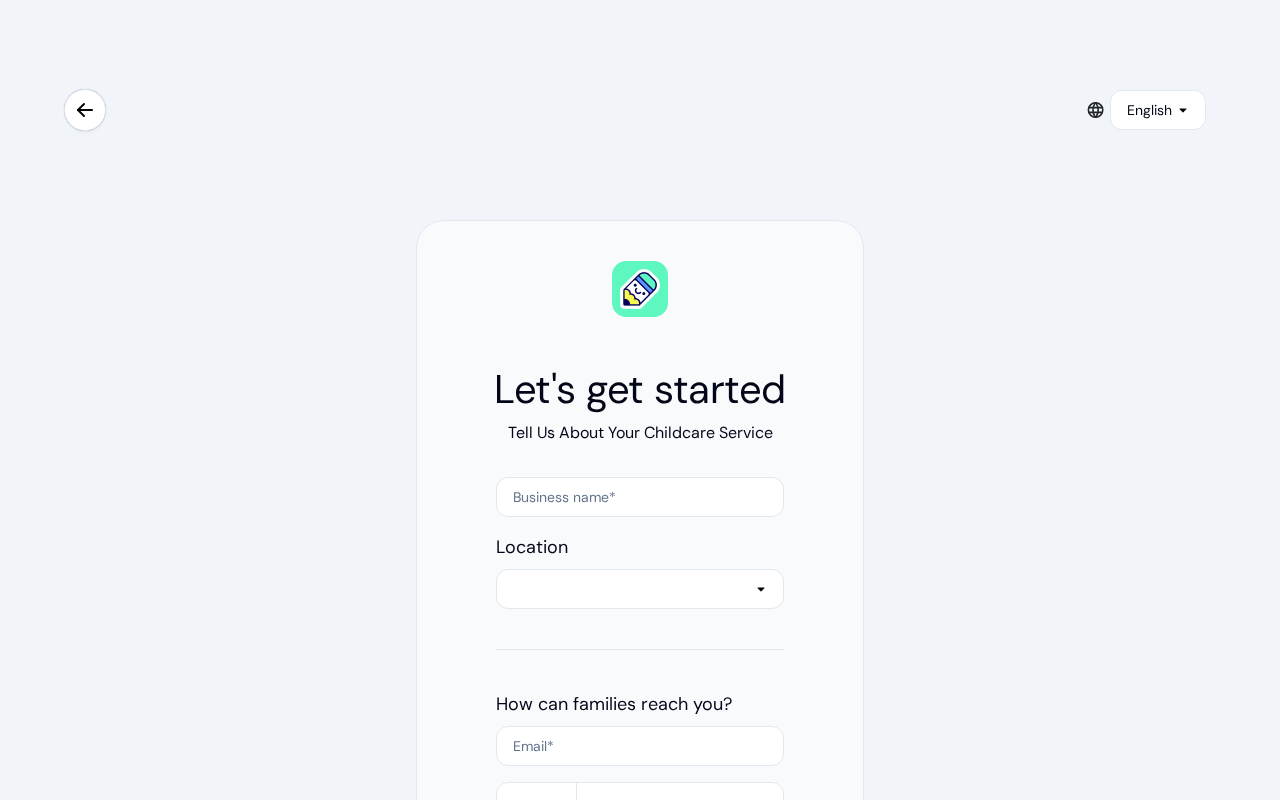
On the Let's Get Started page, enter your center's information:
- Business name — the name of your childcare center
- Location — select your country from the dropdown (type to search)
- Email — the center's contact email
- Phone — the center's contact phone number
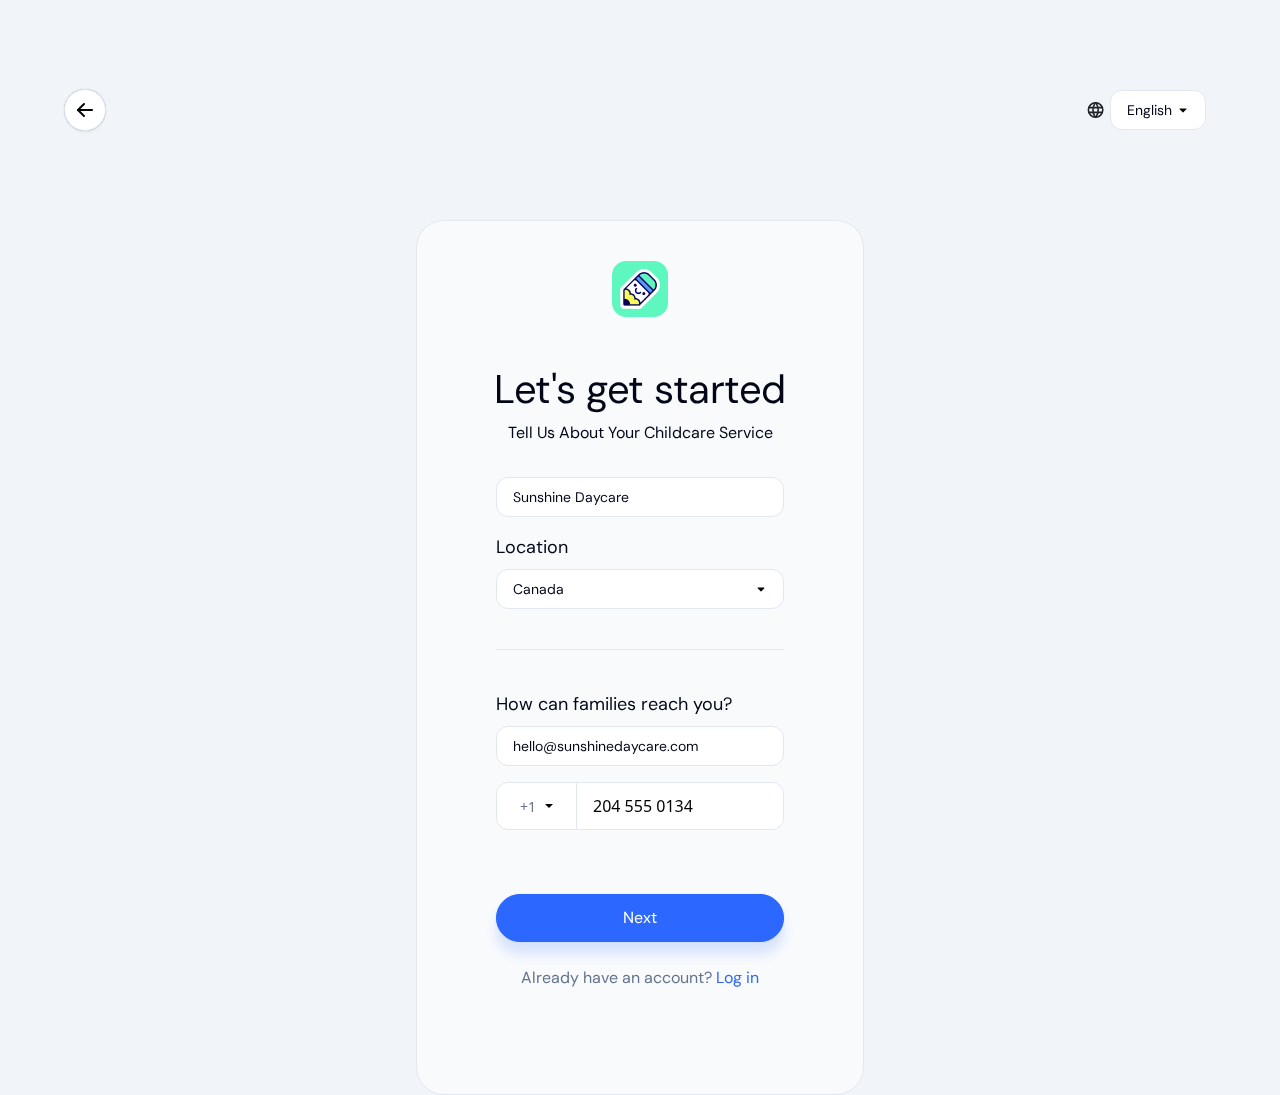
Click Next
Once all fields are filled in, click Next to create your center.
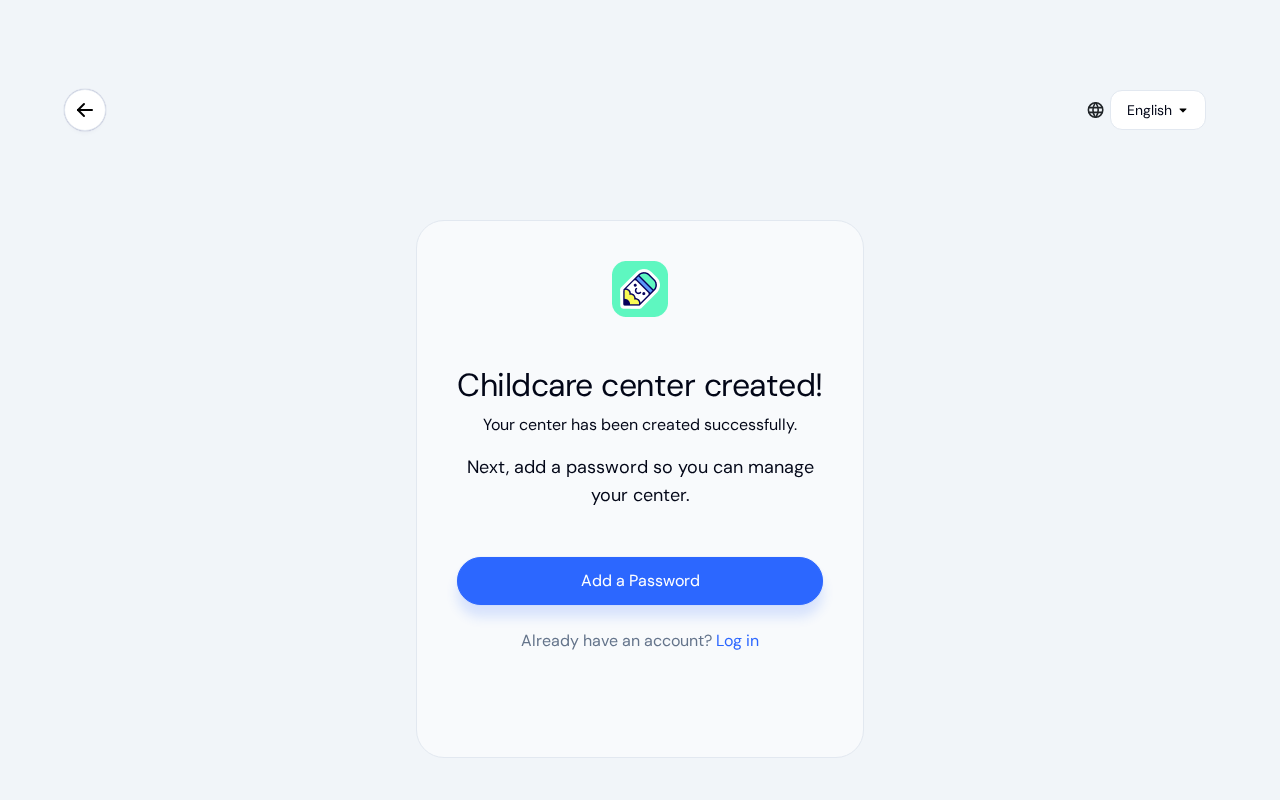
Set up your account
After your center is created, you'll see a confirmation screen. Click Add a Password to create your account.
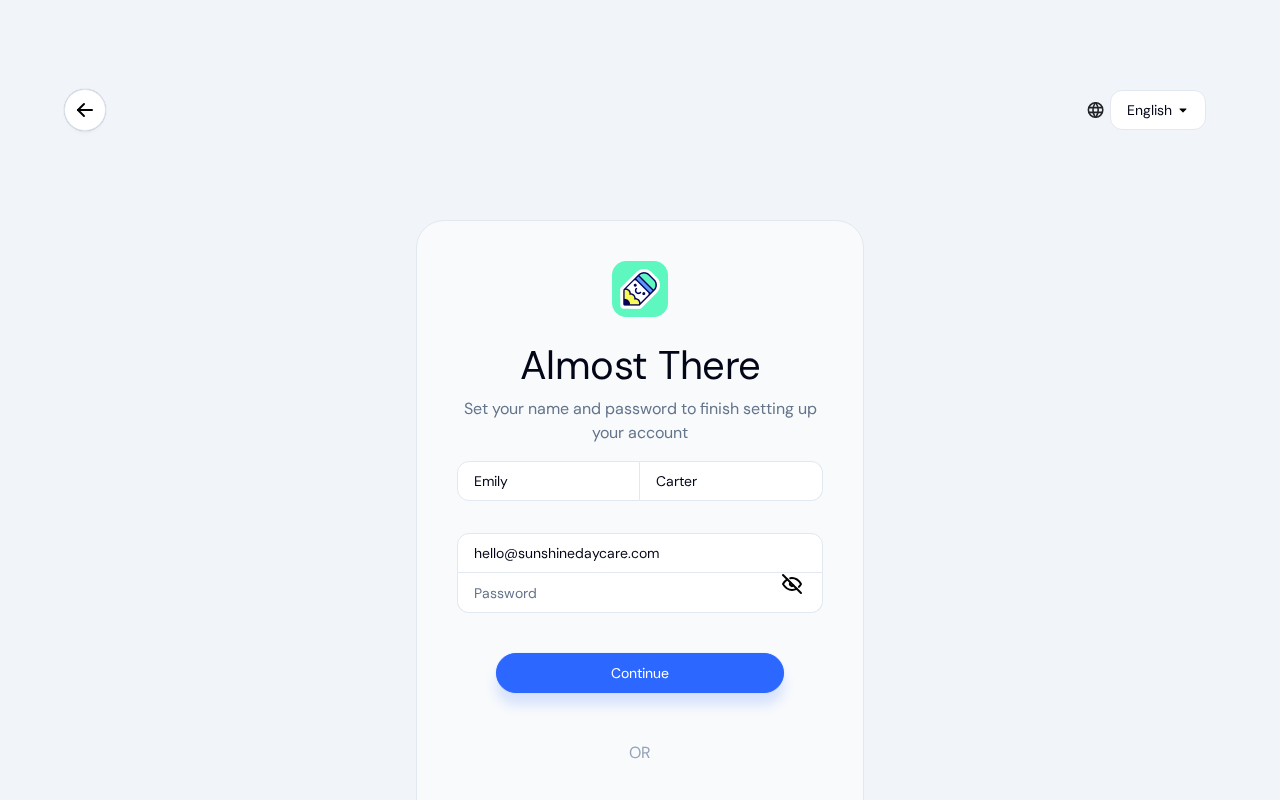
You'll be taken to the registration page where you can enter your name and password. Your email is filled in from the previous step.
Verify your email
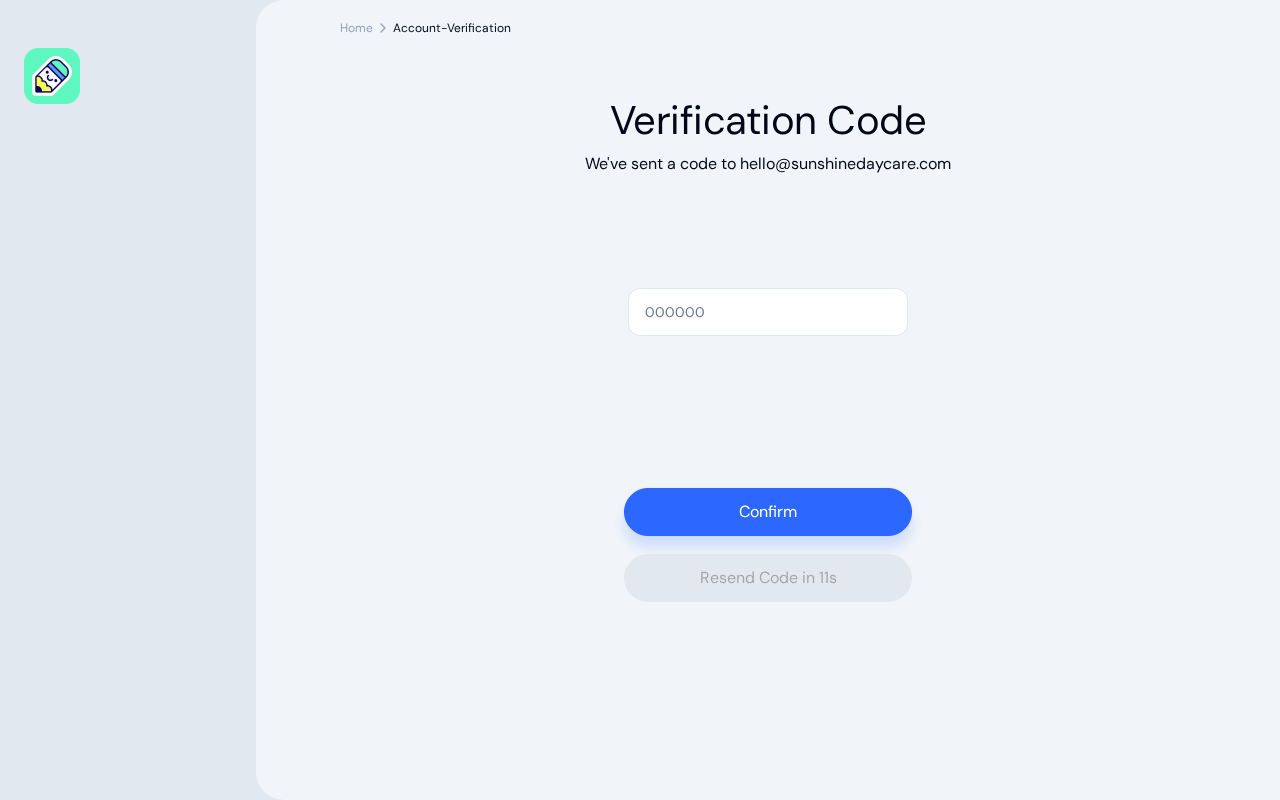
After registering, you'll receive a 6-digit verification code by email. Enter it on the verification screen and click Confirm.
Your Welcome to KidzLog
The first time you open your dashboard, a welcome message greets you by name and explains what to do next. It also lets you know your dashboard comes pre-filled with sample content so you can see how KidzLog works before adding your own.
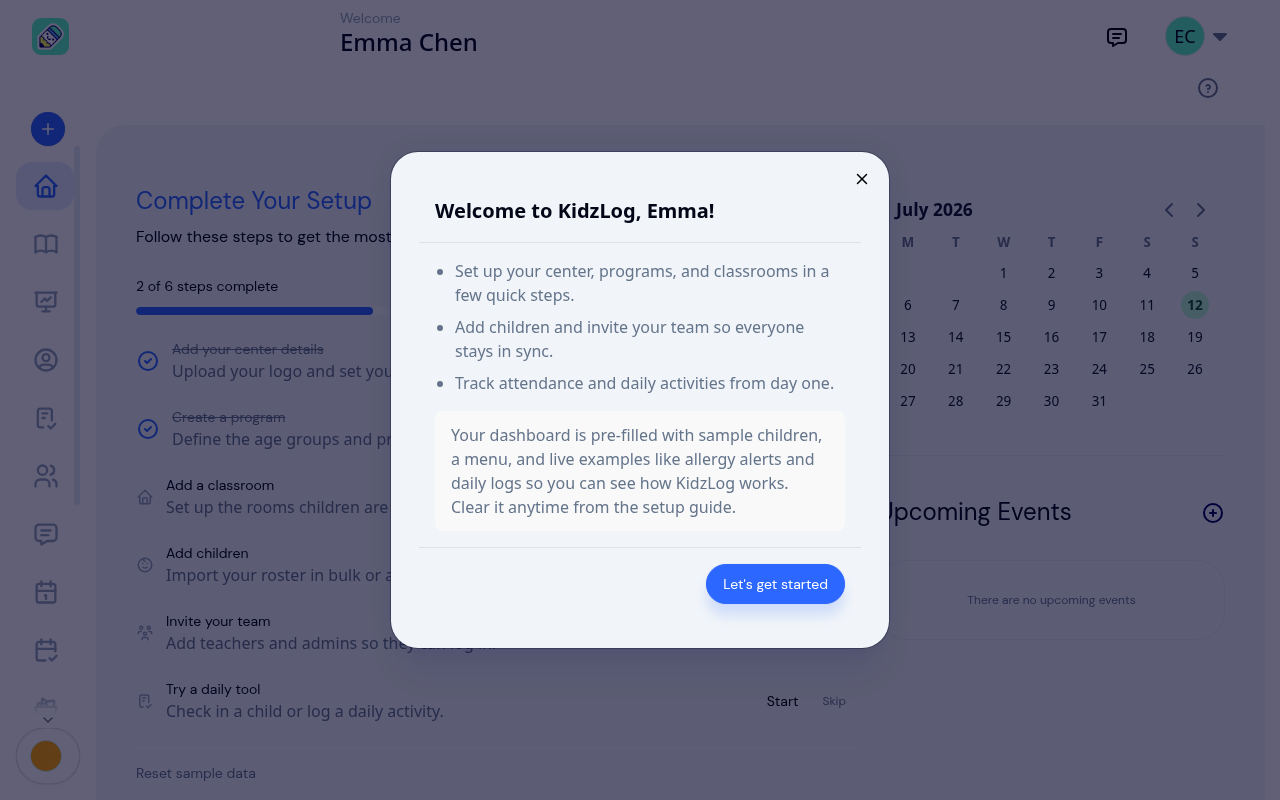
Click Let's get started to close the welcome message and begin setting up.
Complete Your Setup
At the top of your dashboard you'll find the Complete Your Setup checklist. It walks you through the handful of steps that get your center ready to use, and a progress bar shows how far along you are (for example, "2 of 6 steps complete").
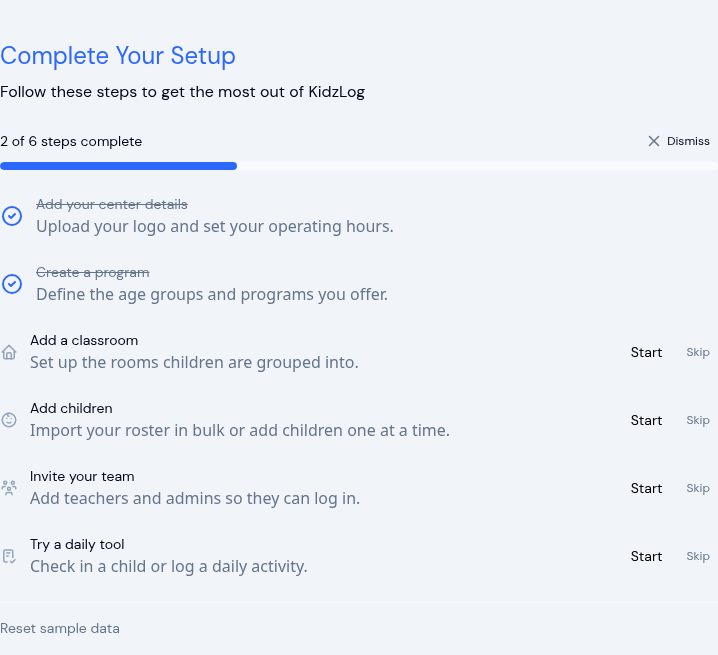
The checklist covers six steps:
- Add your center details — upload your logo and set your operating hours
- Create a program — define the age groups and programs you offer
- Add a classroom — set up the rooms children are grouped into
- Add children — import your roster in bulk or add children one at a time
- Invite your team — add teachers and admins so they can log in
- Try a daily tool — check in a child or log a daily activity
Each step has a Start button that takes you straight to the right screen. If a step doesn't apply to you yet, click Skip to set it aside.
If you'd rather not see the checklist on your dashboard, click Dismiss. You can always bring it back from the setup guide (see below).
Sample Data
To help you explore, your new center comes pre-filled with sample content: a few sample children, a menu, and live examples such as allergy alerts and daily logs. This lets you try features like attendance and activity logging right away, before your real children and classrooms are set up.
When you're ready to work with your own data, you can clear the samples in one step. Open the setup checklist and click Reset sample data.
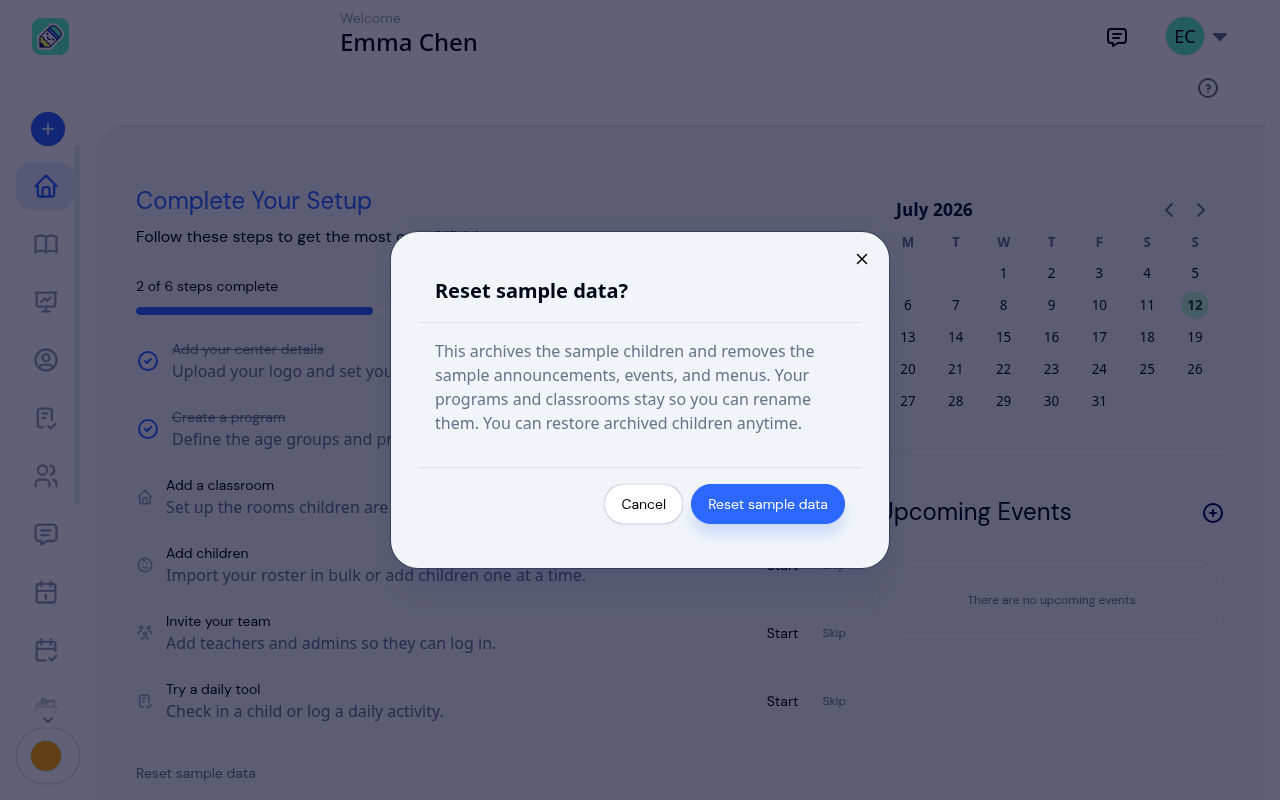
Resetting the sample data:
- Archives the sample children — they're removed from your active roster, and you can restore them later if you need to
- Removes the sample announcements, events, and menus
- Keeps your programs and classrooms — the reset leaves them alone, so nothing you may already have built on them is lost
What to do with the sample program and classroom
Your center starts with one program called DEMO Toddler Program and one room called DEMO Sunshine Room. The reset leaves both in place, and there are two reasonable things to do with them. Neither is a step you have to complete, and nothing in KidzLog asks you to pick.
Rename them and keep using them. Open the program or the room and change its name to your own. Everything already attached stays attached: children enrolled in it, teachers assigned to the room, and any fees you've set up on the program. This is the lower-friction choice when your real first room is roughly the shape of the sample one, which for most centers it is.
Set up your own and put the samples away. Create the programs and rooms your center actually runs, then clear the samples. This is the better choice when the sample shape doesn't match how you're organized at all, for example if you run five age-banded rooms rather than one. The two are put away differently:
- The room is archived, under ... → Archive. It leaves your dashboard, the classroom pickers, and the report filters, but stays queryable, so past enrolments and old roll-call reports still name it. See Archiving a Classroom
- The program has no archive. It is either renamed or deleted, and deleting it cancels every enrolment attached to it and deletes its classrooms, so rename it unless it is genuinely empty. See Programs
Either way, the naming is yours. See Classrooms and Programs.
Finding the Setup Guide Later
If you dismiss the checklist or want to pick up where you left off, open the account menu in the top-right corner and choose Setup guide. A badge shows how many steps are still left.
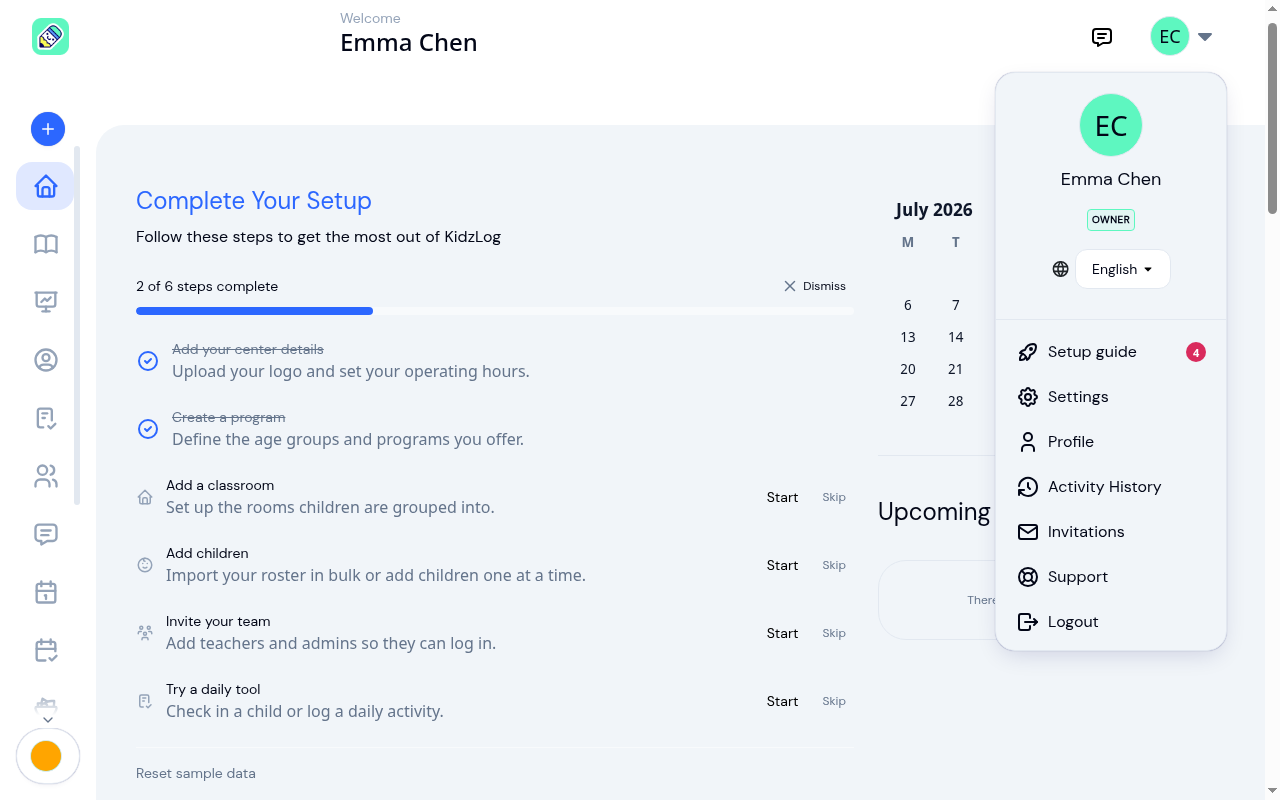
The Setup guide opens the same checklist in a side panel, so you can continue your setup from any page.
Adding More Centers
If you manage multiple locations, you can create additional centers at any time. See Switching Centers for details on managing multiple centers.